This page is part of archived documentation for openHAB 4.0. Go to the current stable version
# Floorplan Pages
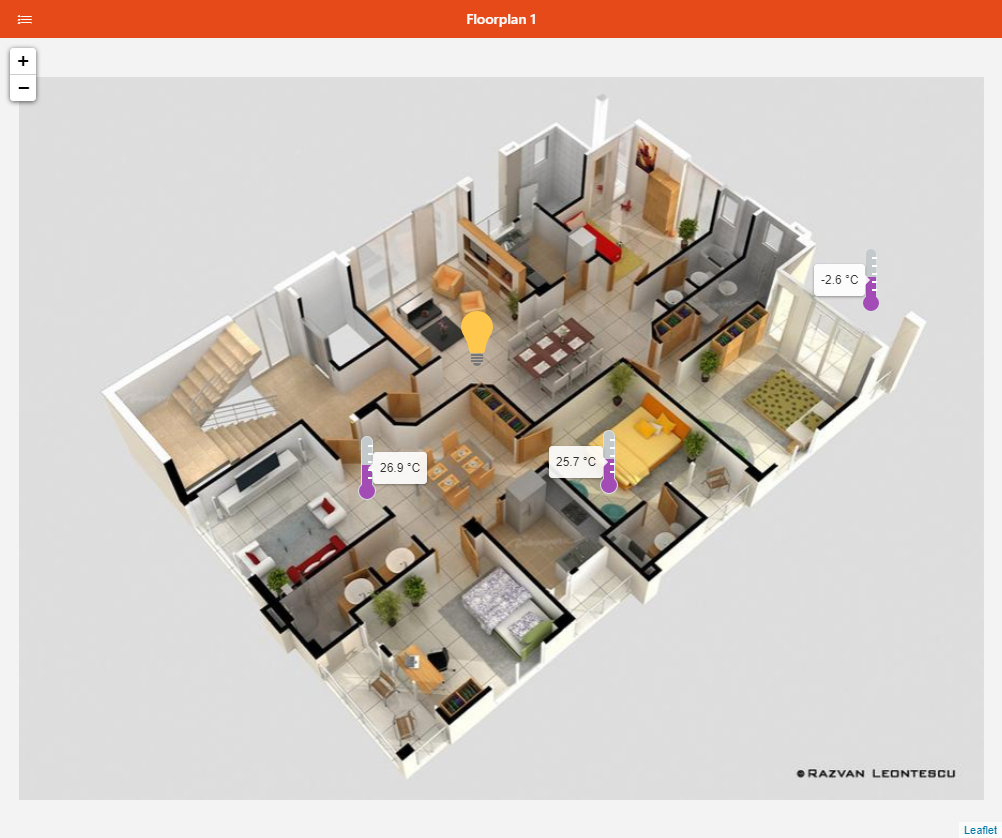
Floorplan Pages can display markers or other elements over a custom image of your choice that you can zoom & pan.

# Anatomy of a Floorplan Page
Floorplan pages have some configuration properties that you mostly can define in the Design mode. You can also add markers on it.
Markers can display an icon, and a tooltip either when they're hovered on, or clicked/tapped, and also perform an action.
With the useTooltipAsLabel property, markers can also be a text label directly displayed over the background - without the icon.
The tooltipStyles property can be configured in YAML to set additional CSS properties to the tooltip/label.
# Building a Floorplan Page
In the Design view, configure the properties below Background Configuration.
Images should be stored in /conf/html/[your directory]/
Image URL:
/static/[your directory]/[your image file]
e.g:
/static/floorplan/FloorPlan3Dsmall.jpg
Image Width and Image Height: Enter the actual sizes of your image
To add markers, you can do it either:
in Design mode under Markers: click Add marker, then click on the newly added entry to configure the marker. Using the black context menu, you can reorder or remove existing markers.
in Run mode: click Add marker and drag the new marker to the desired position. While it's "selected", a popover toolbar will appear, allowing you to configure it, edit its YAML, copy it (a Paste button will then appear besides Add Marker), or remove it.
To position markers accurately, it's usually best to do it in Run mode, while the Markers area in Design mode is best for an overview of the markers on the page.
